Table of Contents
Ever watched a live stream that was so choppy it looked like a slideshow? Or maybe the audio sounded like it was coming from a tin can? Yeah, nobody likes that. The secret to a killer stream isn't just about having the coolest games or the funniest jokes. It's also about nailing your technical setup, especially your OBS settings. OBS Studio is a free, powerful tool that lets you broadcast your awesomeness to the world, but like any powerful tool, you need to know how to use it correctly. This article is your guide to mastering the best OBS settings for streaming. We'll break down why these settings are so important, how to configure them like a pro, and what to do if things go sideways. By the end, you'll be equipped to stream like a boss, leaving behind blurry pixels and dropped frames. Get ready to level up your streaming game!
Understanding Encoding and OBS Studio

Understanding Encoding and OBS Studio
What's the Deal with Encoding?
Okay, so you want to stream, right? But what exactly happens when you hit that "Start Streaming" button? It's not magic, it's encoding! Think of it like this: your camera captures video as raw, messy data, like a bunch of scribbled notes. Encoding is the process of taking those notes and turning them into a neat, organized format that can be sent over the internet. It's like translating a book into a language that everyone can understand. Without encoding, your stream would just be a jumbled mess.
This conversion process involves a lot of complex math, but the important thing to know is that it takes processing power. Your computer is basically doing a real-time translation job while you are playing games or doing your thing. The encoder you choose, and how you configure it, will impact not only the quality of your stream but also how hard your computer has to work. It's a balancing act.
OBS Studio: Your Streaming Sidekick
Now, where does OBS Studio fit into all of this? OBS, or Open Broadcaster Software, is your free, open-source buddy for streaming and recording. It's like the control panel for your live broadcast. It's the place where you select your video and audio sources, add overlays, and manage all the behind-the-scenes stuff. Best of all? It's free! That's right, you don't need to spend a dime to get started. OBS studio takes all that encoded data and sends it off to platforms like Twitch, YouTube, or wherever else you want to go live.
OBS is more than just a simple screen recorder; it's a full-fledged production studio. You can mix multiple sources, add custom transitions, and use audio/video filters and correction tools. It's like having a TV studio in your computer. It is also very extensible, meaning you can add plugins to it that add to its functionality, making it even more powerful.
Feature | Description |
|---|---|
Free and Open Source | No cost to use, and the code is available for modification. |
Multi-Platform Support | Works on Windows, Mac, and Linux. |
Scene Management | Allows you to switch between different layouts and sources. |
Audio/Video Filters | Enhance and correct your audio and video feeds. |
Why Understanding This Matters
So, why should you care about all of this encoding and OBS stuff? Because your settings directly impact your viewer's experience. Poor encoding leads to lag, pixelation, and audio issues. Nobody sticks around for a stream that is hard to watch. Think of it this way, if you were trying to watch a movie, and the video kept freezing, would you keep watching it?
Understanding these basics also helps you troubleshoot problems. When something goes wrong, you'll know where to start looking. You'll be able to tweak your settings to get the best possible stream for your setup. It's about taking control of your broadcast, and not letting your broadcast control you. Knowing the fundamentals lets you make informed choices about your setup, and that's the key to a better stream. You don't want to be at the mercy of default settings!
Why Your OBS Settings Matter for Streaming Quality

Why Your OBS Settings Matter for Streaming Quality
Alright, so you get that OBS is important, but why sweat the details of the settings? Well, think of your stream as a car. You can have a fancy, powerful engine (your computer), but if the tires are flat (your settings are off), you're not going anywhere fast. The right settings are what allow your stream to travel smoothly over the internet, reaching your viewers in crisp, clear quality. If your settings are not optimized, you could be sending a low quality video of your cat to your viewers!
It's like trying to send a huge package through a tiny mail slot; it just won't work. Your video and audio quality, the smoothness of your stream, and even how much your computer strains are all determined by these settings. If your bitrate is too low, your stream might look pixelated and blurry. If your keyframe interval is off, you might see weird artifacts in the video. It's all connected. Your OBS settings are the unsung heroes of your live stream, working tirelessly behind the scenes to make you look good.
Here's a breakdown of why those settings are so crucial:
- Video Quality: The right settings make your stream look sharp and clear, not like a blurry mess.
- Audio Quality: Nobody wants to listen to a stream that sounds like it was recorded in a bathroom. Good audio is key.
- Smooth Streaming: Optimized settings prevent lag and buffering, keeping your stream running fluidly.
- Computer Performance: Proper settings prevent your computer from overheating and crashing.
Configuring the Best OBS Settings for Streaming

Configuring the Best OBS Settings for Streaming
Okay, so you're ready to dive into the nitty-gritty of OBS settings? It's not as scary as it sounds, I promise. Think of it like setting up your favorite video game. You tweak the graphics settings until it looks and runs just right, right? It is the same with OBS. Now, we are going to start with the basics. The first thing you need to know is that there is no "one-size-fits-all" solution. The best settings for you will depend on your internet upload speed, your computer's processing power, and the type of content you're streaming. But don't worry, we will cover the most important stuff.
First, let's talk about the Output settings. This is where the magic happens, where you tell OBS how to encode your video. You'll see options like "Output Mode" which should be set to "Advanced", this gives you the most control. Then we have the "Encoder", which is the tool that actually does the encoding. If you have a dedicated graphics card, you should use that hardware encoder (like NVENC for NVIDIA or AMF for AMD). This takes the load off your CPU. If you don't have a dedicated graphics card, the x264 encoder will use your CPU, so keep an eye on that. Then we have the "Bitrate", which is how much data is used for the video. A higher bitrate means better quality, but it also requires a faster upload speed. It's a balancing act, finding the sweet spot.
Setting | Description | Why It Matters |
|---|---|---|
Output Mode | Sets the complexity of the output settings. | "Advanced" gives you more control. |
Encoder | The tool that encodes your video. | Use your GPU if possible (NVENC/AMF). |
Bitrate | Data rate for video quality. | Higher bitrate = better quality, but needs more upload speed. |
Next up, let's tackle video settings. The first thing is "Base (Canvas) Resolution", which is the resolution of your monitor. Then, we have "Output (Scaled) Resolution", which is the resolution of the stream you will send. If your computer is not a top-of-the-line model, streaming at 1080p might be too much. Try scaling down to 720p. You should also set your "FPS" (Frames Per Second) to 30 or 60, depending on your game and preference. If you are streaming a fast-paced game, 60 FPS will look smoother. But if you are just chatting, 30 FPS is fine. Remember, every setting impacts your performance, so test it out and see what works best for your setup. It's all about finding the right balance.
Finally, let's quickly talk about audio settings. You should set your "Audio Bitrate" to around 160 or 320 kbps for the best sound quality. You should also make sure that your audio source is correct. If you are using a microphone, you should select it in the audio settings. Remember, your audio is just as important as your video. No one wants to listen to a stream with bad audio. So, take the time to set up these settings correctly. It's worth it.
- Base (Canvas) Resolution: Your monitor's resolution.
- Output (Scaled) Resolution: Resolution of your stream.
- FPS: Frames per second (30 or 60).
- Audio Bitrate: Set to 160-320 kbps for good sound.
Optimizing OBS Audio and Video Settings for Streaming

Optimizing OBS Audio and Video Settings for Streaming
Fine-Tuning Your Video Settings
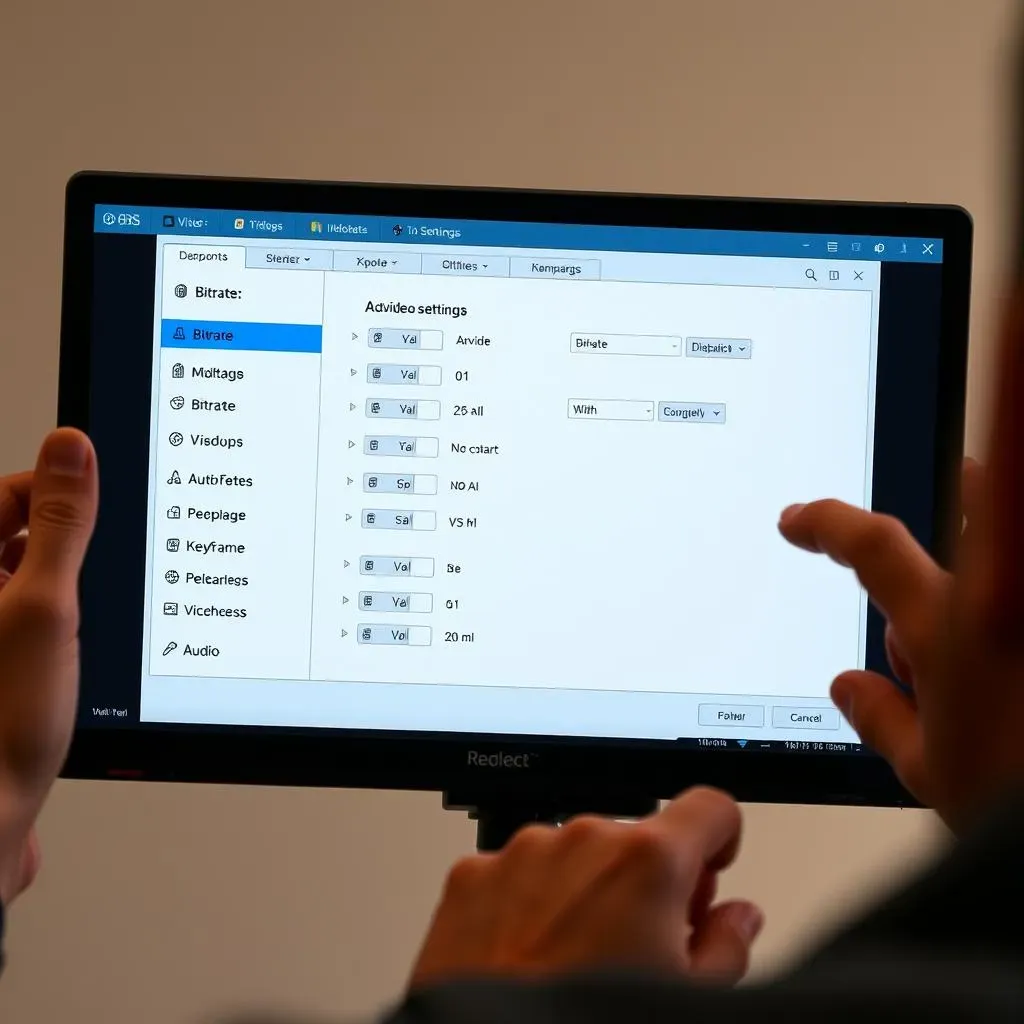
Alright, let's get into the real art of making your stream look amazing. We've talked about the basic video settings, but now it's time to tweak them for perfection. Think of it like adjusting the focus on a camera lens. You want everything sharp and clear, right? One crucial setting is your bitrate. It's like the amount of paint you use for a picture; too little and it's dull and faded, too much and it's wasteful. For 1080p streaming, a bitrate of around 4000-6000 kbps is a good starting point. If you are streaming at 720p, you can go lower, around 2500-3500 kbps. Remember, it all depends on your upload speed, so don't go too crazy. Also, keyframe interval should be set to 2 seconds. This setting tells OBS how often to send a complete frame, which helps with video quality. And don't forget about your encoder! If you have a dedicated GPU, use it! It takes the load off your CPU, which is especially helpful when you are gaming.
Another thing you should consider is the "preset" setting for your encoder. This is basically how hard your computer works to encode the video. The "faster" preset uses less CPU but might have slightly lower quality. The "slower" preset uses more CPU but can result in better quality. It's a balancing act, and you'll need to test what works best for you. And one last thing, if your stream is looking a bit blurry, consider changing the scaling filter. Lanczos is a good option for sharper images, but it also uses more processing power. So, experiment a bit and see what works for your setup. Remember, it's about finding the sweet spot between quality and performance.
Mastering Your Audio Settings
Okay, so you've got the video looking great, but what about the sound? Audio is half the battle, and it's often the most overlooked part of a stream. If your audio sounds terrible, people will tune out, no matter how good your video looks. Start by making sure you've selected the correct audio input device. If you're using a microphone, make sure it's the right one. And for the love of all that is holy, please use a good quality microphone. The built-in microphone on your laptop just won't cut it. Once you've selected the correct source, you can start fine-tuning. Set your audio bitrate to 160 or 320 kbps for clear and crisp sound. Also, check your sample rate. 44.1 kHz or 48 kHz are good options.
One really helpful tip is to add some filters to your audio. OBS has some great built-in filters like noise suppression, noise gate, and compressor. Noise suppression helps to get rid of background noise, like the hum of your computer or the sound of your cat making biscuits on your keyboard. Noise gate only lets sound through when it's above a certain level, which can help to remove background noise when you are not talking. And the compressor helps to balance the volume of your voice, so you don't sound too loud or too quiet. These filters are your friend, so use them! Remember, your viewers want to hear you clearly, so spend the time to make your audio sound good. It's worth it.
Setting | Description | Why It Matters |
|---|---|---|
Bitrate | Data rate for video quality. | Higher bitrate = better quality, but needs more upload speed. |
Keyframe Interval | How often a complete frame is sent. | Set to 2 seconds for best quality. |
Encoder Preset | How hard the computer works to encode. | Balance between quality and performance. |
Audio Bitrate | Data rate for audio quality. | 160-320kbps for clear sound. |
Audio Filters | Noise suppression, gate, compressor. | Helps clean up audio. |
Troubleshooting Common Issues
Even with the best settings, sometimes things go wrong. It's just the nature of technology. If your stream is lagging, the first thing to check is your internet connection. Make sure your upload speed is fast enough for your bitrate. You can also try lowering your bitrate or output resolution. Sometimes, the problem isn't your internet, but your computer. If your CPU or GPU is maxing out, your stream will suffer. Try using a faster encoder preset, or closing other programs that might be using your computer's resources. And if your video is looking pixelated, check your bitrate and keyframe interval. A low bitrate can make your video look blurry. It's all about finding the right balance, and sometimes you might need to adjust a few settings to get it just right.
Another common issue is audio problems. If your audio is too quiet, try adjusting your microphone gain or using a compressor. If your audio sounds distorted or crackly, check your audio levels. Make sure that your audio levels are not peaking, or going into the red. You can use the level meters in OBS to check this. Sometimes, audio issues can be caused by conflicts with other programs or devices. Try restarting your computer and OBS, and see if that helps. The key is to be patient and methodical. When something goes wrong, don't panic. Just start troubleshooting one setting at a time, and you'll find the solution. Remember, every streamer has these issues, so don't feel like you are alone. You will get there.